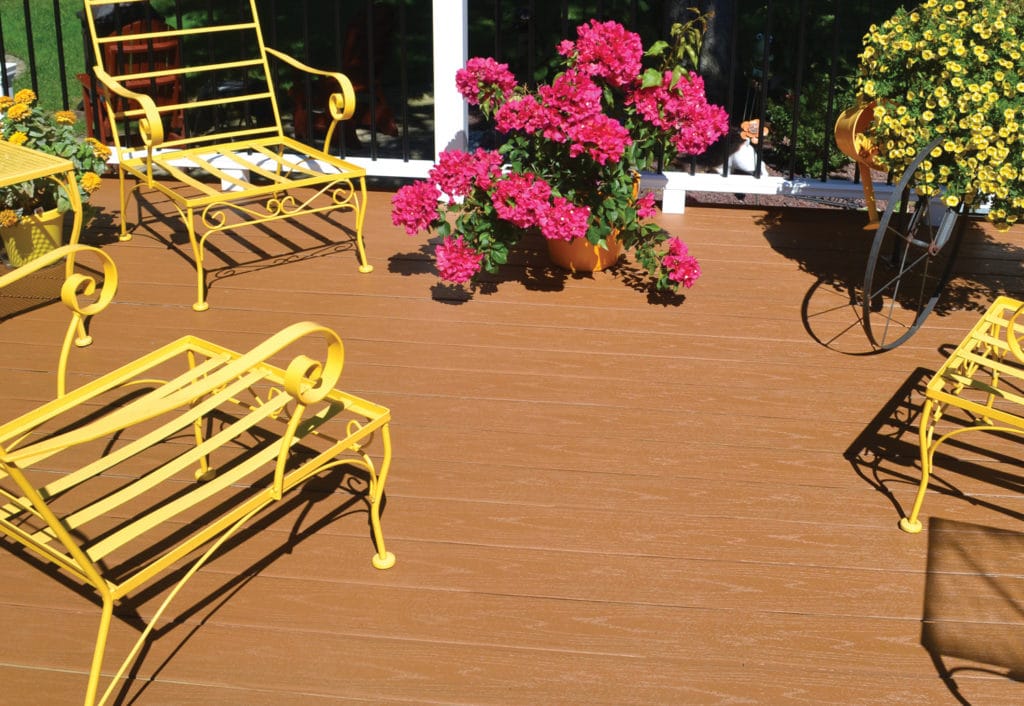
PREP
1. Prepare your deck for restoration by cleaning it. Power wash and allow time to dry thoroughly. Fill in any voids with appropriate wood filler. Sand down high areas and uneven seams. Countersink any raised nails or replace with screws suitable for treated lumber.
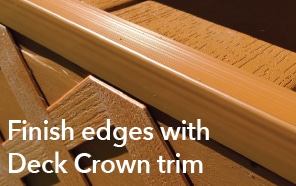
(As part of your deck resurfacing procedures, we highly suggest staining the seams, or color matching the current wood and seams with our Deck Crown product.)
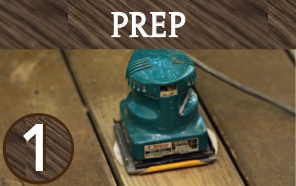
2. Pull back liner approximately six inches and position at the beginning of the deck board.
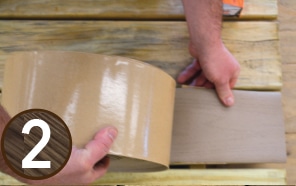
INSTALL
3. Nail down Deck Crown with 2 or 3 color matched stainless nails provided by Deck Crown. (This will keep the Deck Crown in place while unrolling to desired length.)
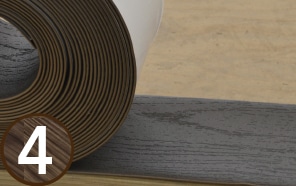
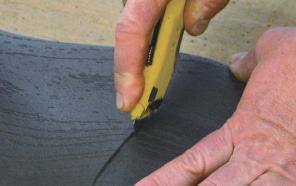
4. Unroll Deck Crown out the entire length of the board to be covered. Cut off at the end of the board.
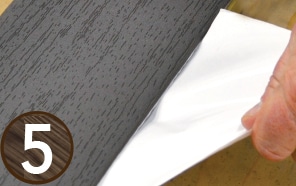
5. Begin to pull liner from underneath Deck Crown 3 to 4 feet at a time, straighten and press down as you go.
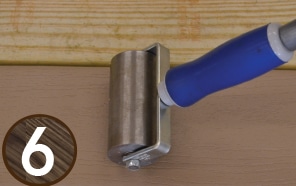
6. Starting with the nailed end, roll over the Deck Crown with a weighted floor or seam roller applying pressure to the Deck Crown to ensure good adhesion. Cut off the excess and nail down with 2 or 3 color matched stainless nails.